
Lightning task
- Matteo De Costanzo
- 4 apr 2021
- Tempo di lettura: 3 min

Aggiornamento: 15 apr 2021
Hello everyone and welcome in the Lightning foundamentals on Maya. This week is all based on the lightning foundamentals, during the brief our tutor showed us the principles of lightning and some examples through the history of art, this lecture was really interesting and rich of context, because if you think that the great masterpiece all around the globe they discovered and studied the principle of lightning though trials and fails and they came up with original idea and such great technique for that time, these artists studied the nature to understand what the light affect the objects and the models, how the light impact the scene and how much is important for a canvas (or in this case as a scene), without light we can see colours, objects and so on, so this lecture is right on schedule to improve our quality works and set the scene right to gain the best render for a final product. Follow me,
I read the brief and I downloaded the folder from the university link and start to watch the scene, after that I followed step by step the instructions and after I had the grip of it I tried to experimenting and play around. The basic principals of lightning for 3D are borrowed from the science studies and photography sets, in photography they used 3 light points to make the final picture more appealing and for that we use the same setting, it's common to see two big lights and a small one with high intensity light to create the right atmosphere.
Right! let's go on the actual step by step workflow!
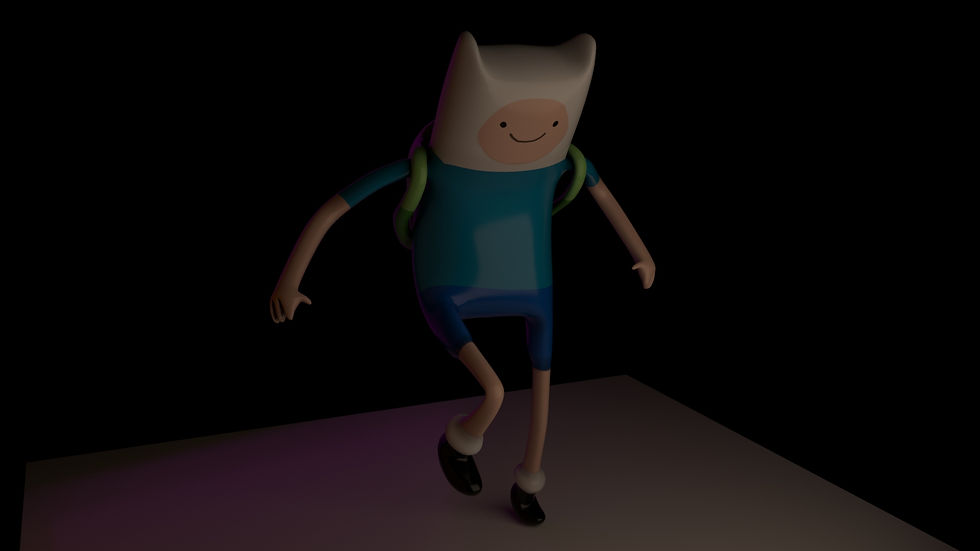
I started to create a quick Camera for the render, then I went to Arnold window, and select an Area light to get my Direct light, I set up the Direct light up to 300 intensity in order to get a bright light, then I copy&paste the main light and put it behind the scene and rename it as RIM light and I lowered the intensity to 100 to get less light from it, after that I copy&paste it the rim light again, rotate it a little bit a put on left with a fair range, leaving the intensity to 100. I opned the arnold render view to get an idea of what I was doing, I scaled them a little bit to distribute the light better and play around with warm and cold colours.

These are a serial of picture explaining the differences between the lights and how the affect the scene. I rendered the single light and show you excatly what they do. We got the combination between: -DIRECT light -RIM light -FILL light and a combination between neutral, warm and cold coulour temperatures. For this scene it was easy to set up the Camera view point because it's like to emualte a photo shooting so no issue for now.
The secon part of this task was actually give to the scene an appealing lighning set where we have to decide the camera's angle or view, the lightning and the meaning behind.
This was a little bit hard, so I decided to take my time texturing and give for each object a proper material to get an idea of what I was going to do after, when the texturing was done I double checked the windows to see where the light where come from and which surfaces will it, it was a study of lightning bounces. I started to import a set different skybox textures where they gave me an idea of what kind of lights to use for this sce, in the following pictures I rendered different skybox with and without. I create a Direct light emulating the SUN light and adjusting the intensity for my needs, I added differents SPOT and AREA lights for the right situation and have it a go.
In order to do this task I observerd how the light in my room affect the enviorment and luckly enough I do live in a flat that has a staricase so during the day between one render and the other I stopped for a moment to observ the light coming from the window and bouncing/hitting the surrounding, that gaves me confidence to create differents sets and experimenting with them, nature definitely inspired me for this task. For the camera's angle I decided to skip the study for the right prospective point with the Fibonacci's formula where everything is mathematically proportioned and appealing, so I give it a go thanks my observation skills and set up the camera trying to allign it with a focus center to make the render appealing.
This is a short video that I liked to realise, making some flickering like an horror set or just to mimic the felling of scary and intimidating


Commenti