
Rig Task
- Matteo De Costanzo
- 14 apr 2021
- Tempo di lettura: 2 min

Aggiornamento: 15 apr 2021
Hello and welcome.
Week #9
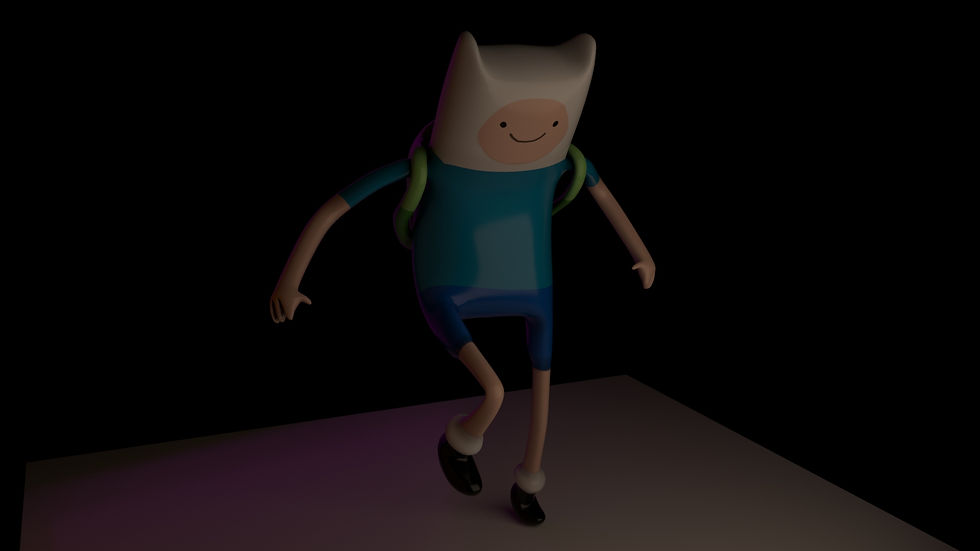
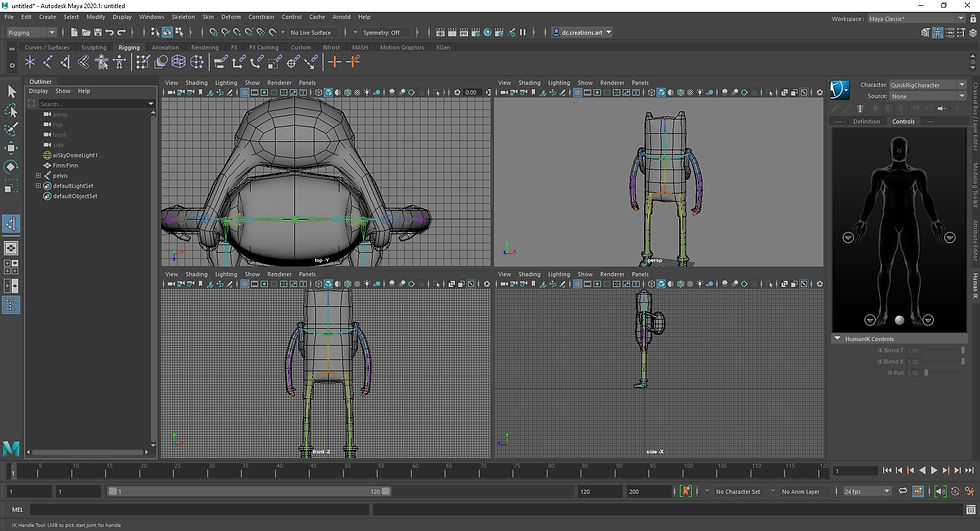
This week is based on the journey to be an animator but before to do cool animation and stuff we need to learn the foundamentals to be one. In this Monday brief our tutor showed us what do you need to actual animate a charactern in this case, we talked about animate a cube and a sphere in the last couple of weeks but now things are getting hot. we've been assigned to rig a character model of our chooise, the only thing that we have to follow is that we show the pipeline and the process and of course the end result. In order to do that you need to open one softwere of your chooise (Maya this time), and go to the rigging window and start to block out the skeleton of the character, the actual skeleton in Maya it's called Joint, so you need to create each joint, it's extremely important to RENAME the joint for each part of the body (like: joint_shoulder, Ankle_joint and so on) because it will help you to find them easily in the process, the trick here is to go first on the center of the body and then go to one side of your choise and after that you can mirror it to have the missing part. Once, you do that and double cheked that they are alligned you need to bind the joint with the mesh, when you're satisfied you need to create nurbs curves to use it to move and animate your model, it's easy in this way rather then pick the single joint every time, it saves you a tons of time. If you notice that when you move the character it's stretch too much you need another vital step in order to have your rig set right, you need to paint the skin weight, this step it helps you to not affect the section that you don't want to.


Commenti