
Lip sync animation
- Matteo De Costanzo
- 1 apr 2021
- Tempo di lettura: 3 min

Aggiornamento: 15 apr 2021
hello everyone, welcome.
week #16/#17/#18
in this session we had to tackle the cool part of animation, finally we had to do a lip sync animation, we had to choose from 15 audios and with our creativity set the scene and animate a character. The audio folder had 15 files from 1sec to 8sec long, I choose one that I relate more and thought that was fun to do, we had any kind of languages also, so it was focused not only on the fun part but mostly on the technical side.
Before start an animation it’s important to split to listen the audio (if you have one) and block out the sections, in my case I recorded myself to have a real reference of the gestures, the movements and timing.
once I got everything in place I watched more videos regarding this topic and see how other animators tackle the lip sync to get a better understanding of the workflow and pipeline. I learnt what do you need to get a good animation and how to block out the scene in main poses and in between poses and then go for the details. I repeat the procedure until I was happy of the result, after that I pictured that this conversation could be possible in a 3D studio with the junior artist having an argument with his superior, I thou that was a good idea and approach so I based all the animation around this idea and went for it.
I used a free model character online and used him as the main characther and then I dupliated him to get the "boss talking" vibe, I downloaded an HDRPI skybox to get the background right then I create two more cameras and used them for navigation and rendering to have a better view of what was going on. For the lightning aspect I tried to replicate as much as possible the lightnng eviorment to get a realistic scene, the Direct light is a yellow-y bright color from the lights on the right, the Rim light is purple/blue, basically a cold color to get the window light from behind, and the Fill light is around Blue color that is the light from the monitors.
The YouTube video, is the final results, yes I could it improve a little bit more with some little changes on the smile and so on but I'm happy on the final result, first try in lip sync animation I consider myself pretty happy and satisfied (plus I got more time to do my workout without thinking that I was wasting time, since it was rendering).
This was the first final result, but after re watching the clip I noticed something was off so I decided to give it another go

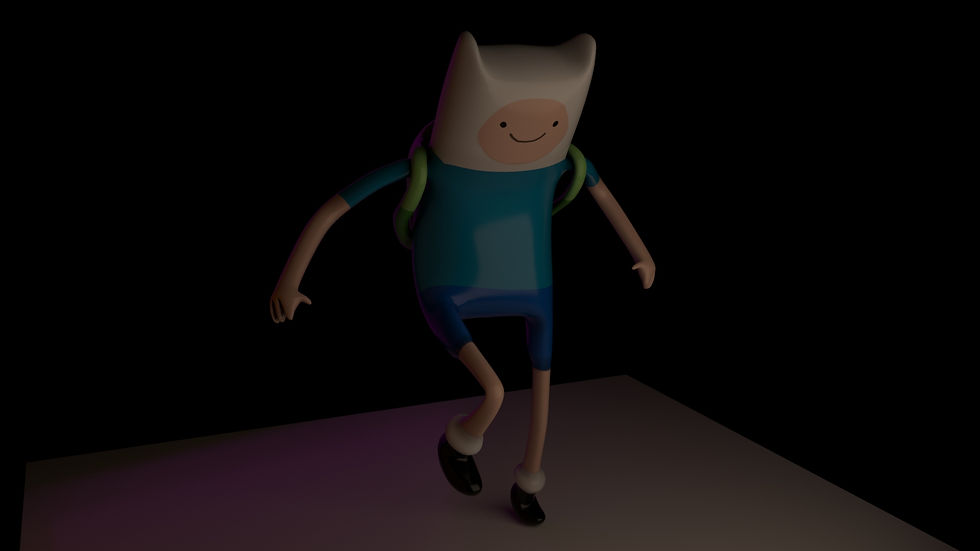
Before starting this project I downloaded some free models online to do a little warm up before tackling the project, I checked the rigs and experimenting with poses and timeline, then I added some lights just to create the right atmosphere and set the camera to have an idea to how to set the following lip sync animation.
This is a little warm up from the free download model, I worked on this character following and imitating the same animation reference that was on the file, I tried to replicate the same animation, it was hard at first but then I was happy for the result.
It was hard at first because I thought that I wasn't ready yet to do such a thing, but I started to read these books "Anatomy of facial expression by Uldis Zarins" and "The animator's survival kit by Richard Williams" and taking notes of what the default animation showed me and where I have to focus on.
After taking the notes I braking down the animation whatching which control was moved and the timing so in my note pad I wrote a timeline mindmap and step by step a replicate the animation.


Commenti